Groovy Track
This page is a re-creation of the "Groovy Track" article that appeared on the Rail Systems Company website, which no longer exits. Thanks goes to Archive.org.
---
The title for "Groovy" track was first used by Jack Munson who began building several railroads using various methods back around 1972. It is called "groovy" due to the grooves in the ties. Remember the old hippy term "groovy"? This stuff really is groovy!
What is Groovy Track
Here is some info that should be found to be useful...Use it as you please. This info is furnished as a free service to you. We have no financial stake in track of any kind whatsoever.
Remember this is only the way we do "Groovy" track and you can do it any way you want or not at all.
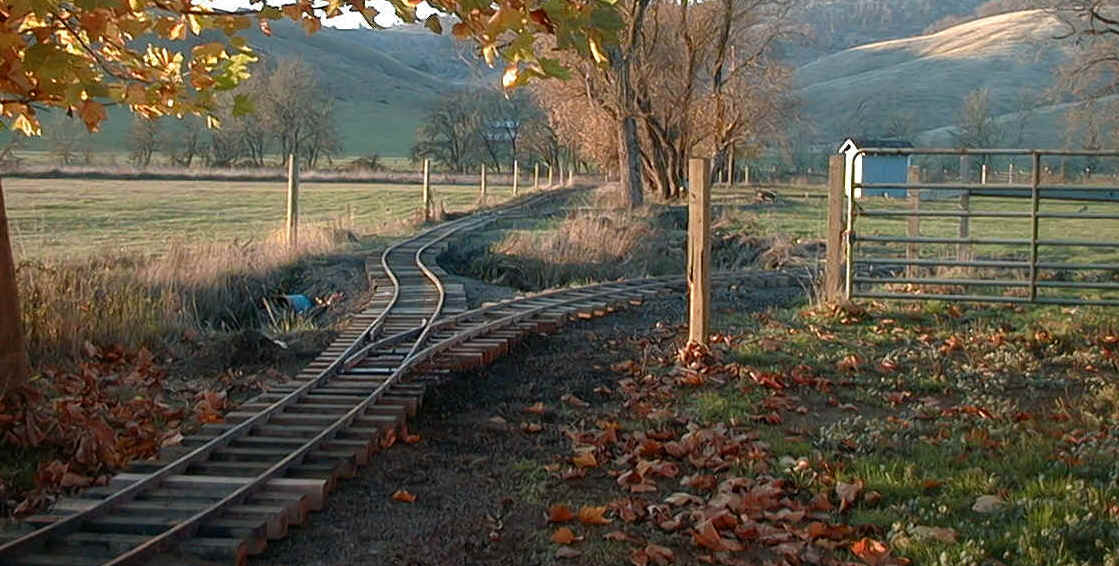
Simply put, "Groovy" track is steel flat bar. What holds the bar to the ties?....Nothing!
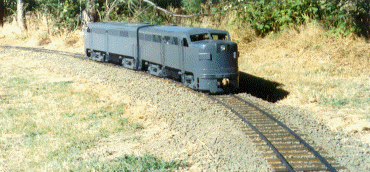
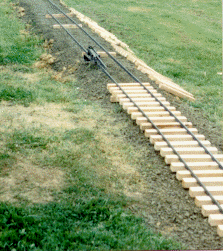
The ties are notched to accept the rail and the bar is pressed into the notch. That's it! You've heard that flat bar is hard on wheels? Not if it is constructed correctly. Not only do we advocate the use of this type of track, many tracks around the world are operating on it. When installed properly, the "Groovy" track looks very nice and performs fantastically. It will also outlast the most commonly used aluminum rail many times over.
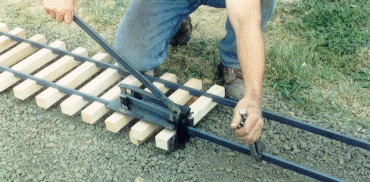
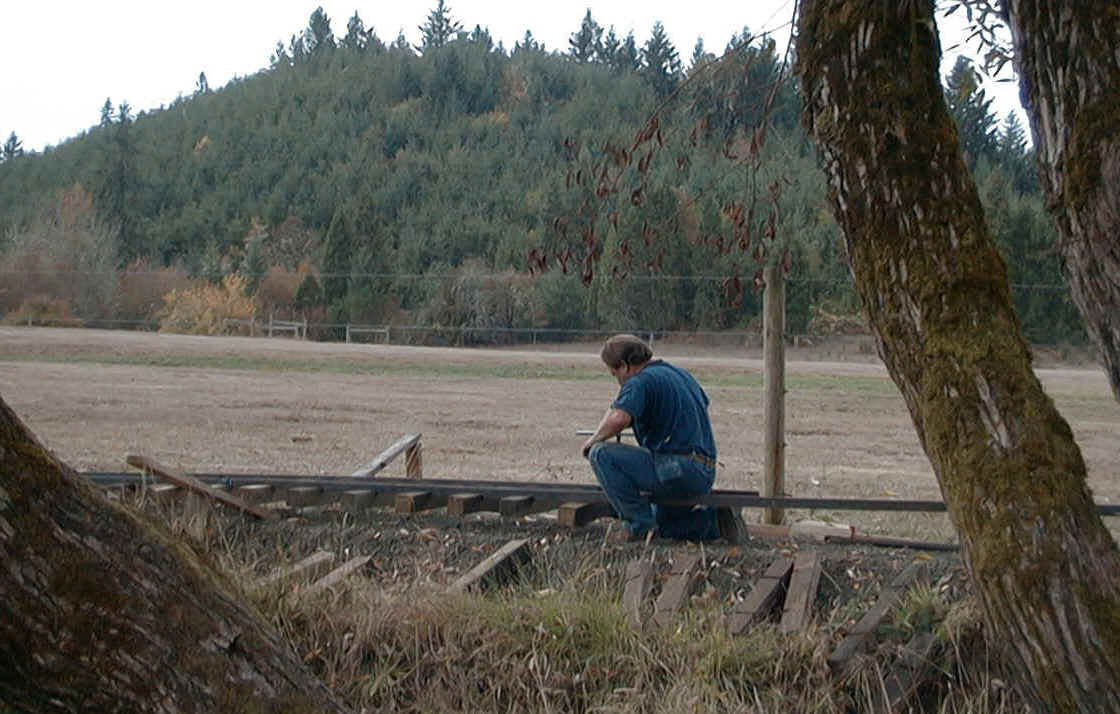
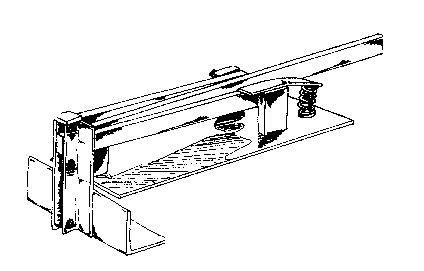
Using our handy Track Snapper the job of laying track is simplified and can be done easily by one person . Lay out the ties along the roadbed and go to work.
Do you need a Track Snapper. NO Use whatever you like. We sell the tool that was designed by Jack Munson for his own purposes and it works well in that it enables a person to apply the ties single handedly. Personally we don't care if we don't sell any Track Snappers at all. People just want them and we build them . That's it.
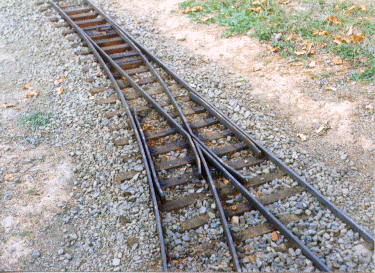
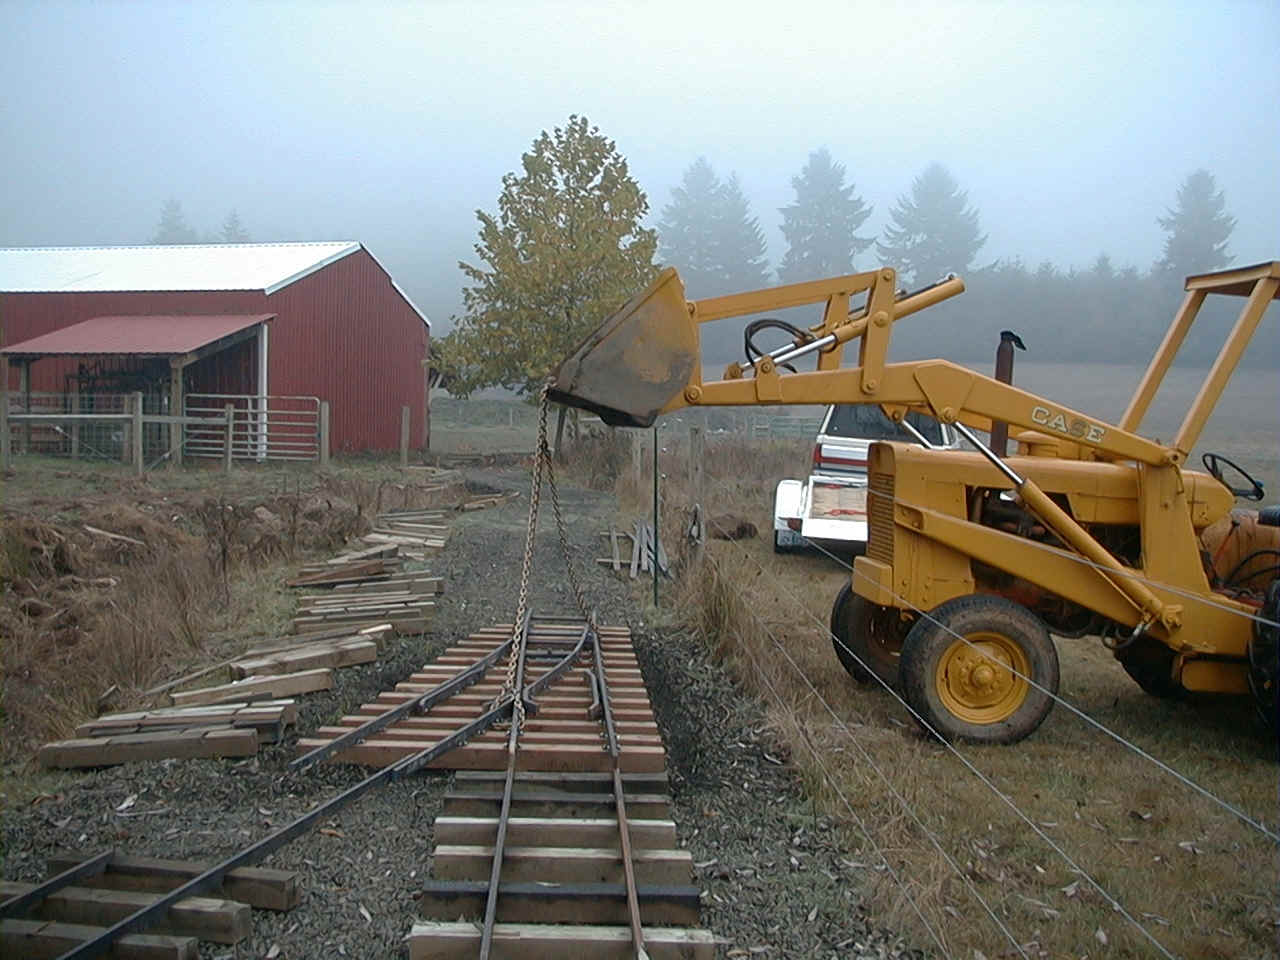
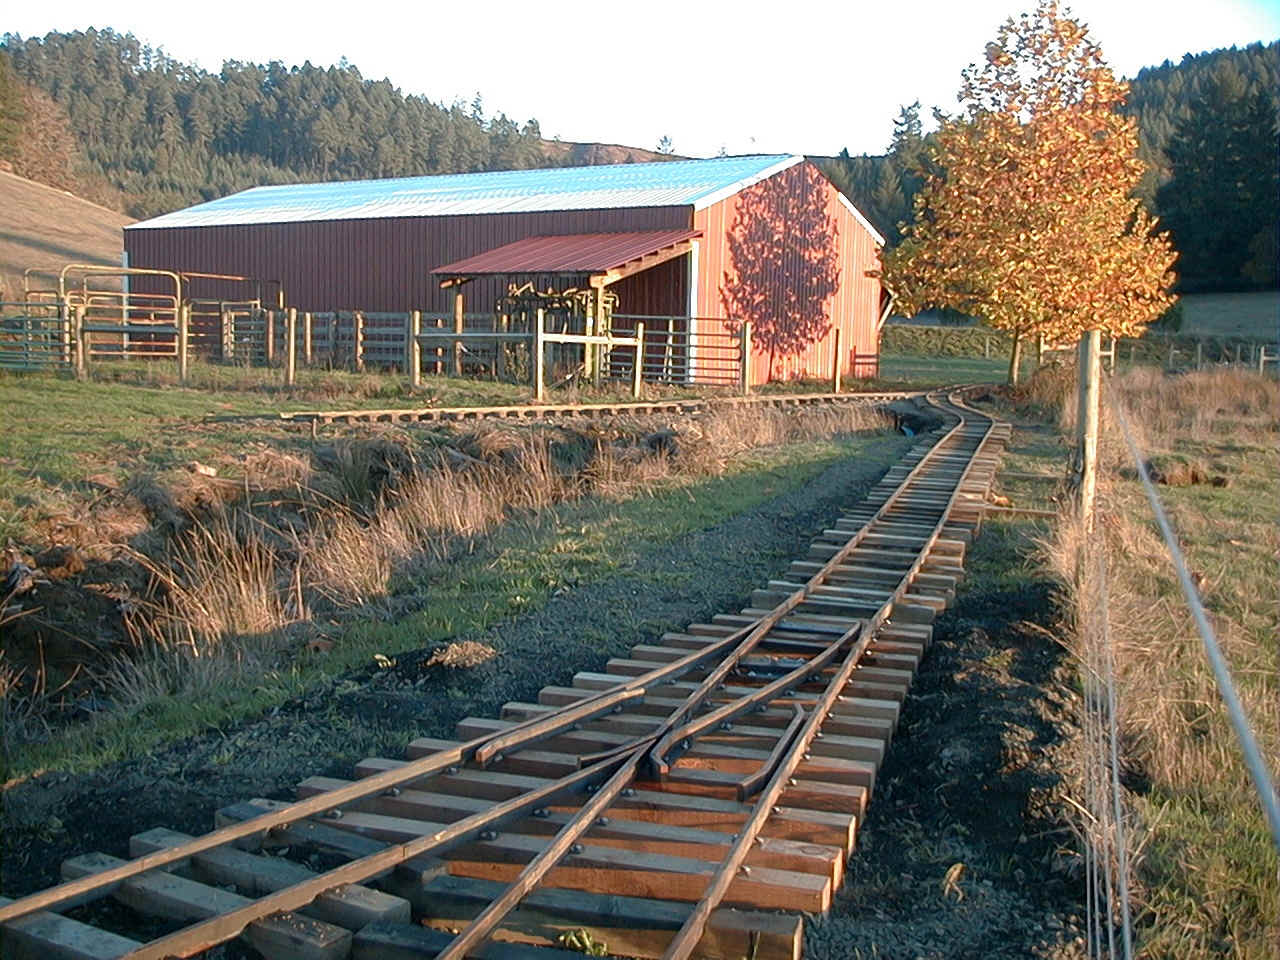
Switches can be fabricated easily from flat bar.
Here is a way to join the rail which eliminates the need for drilling and such.
Building switches...
We cut small plates from 3/16" steel flat bar through which two holes are drilled for screwing down to the ties. The rail is then formed and welded to the plates while maintaining the gauge. You will need to decide what radii you want through the switch. This is defined in terms of various numbers such as #4, #5 , #6 etc. Do we use these numbers? NO Just make the switch go where you want. Try to keep things simple. The guards and frogs are simply formed by bending the bar and welded to common plates The points are machined down in a mill but can be sawn or ground. Use what you have. The points on our switches are welded to common plates and pivot on a bolt which is installed through a common plate (See photo) The ties are cut from 2X2 wood or plastic. It is our practice to nail the ties in position to a 1X4 on the back side in order to hold the switch in position while fabricating. Leave the 1X4s on the underside when you lay the switch and the radii and other components won't change.
Groovy Track Specifications
Here are a few specifications if you want to try " Groovy "Track................
Ties...1-1/2" wood or plastic - Rail...3/8" X 1" steel flat bar
Please keep in mind... these are our own specifications.
1. Cut ties 14"
2. Cut slots 7-5/8" apart (or 7-3/8"....1/2" deep
3. Cut slots so as to hold the rail snug enough to hold it in during construction. The rail is not really held down by the ties anyway. Gravity and the constant rolling of trains and such keeps the rail down. (Don't let people walk on the track) We use an adjustable Dado blade in a table saw to notch the ties. If you want you can build a mandrill with two dado blades but we just use one. A radial arm saw also works very well for both cutting and notching the ties. We use this method exclusively for the Big ties (4X4s). With the radial saw both notches can be cut at the same time whereas the table saw requires two separate settings. In a week or so we'll try to show you a couple of photos of our tie making operation .
4. Ignore all the "experts" that will be happy to tell you all about something they don't have any first hand information on . Our advise is use recycled plastic ties if you can afford them. If not use plain old Douglas fir 2x4s (pressure treated) And please remember we have had some track down for many years and know of some that has been down for over 20 years. You should treat the part of the wood that has been exposed by cutting .
5. Don't notch any ties until you have the steel due to the fact that steel flat bar varies in thickness. It should also be understood that wood ties will change in size due to hydration or dehydration. This means that ties that were notched when the wood was wet will change when the wood dries out. Plastic ties don't change much except for the price. (Always goes up) Be sure to use only Hot Rolled steel. Cold rolled steel will rust heavily right away whereas the hot rolled steel lasts longer than you will be around (more than likely.)
6. Why not use that "real" looking track? If you've got the Big Bucks then go for it! Use what ever you want. We like this stuff.
Please keep in mind...there will always be some old sour mouthed individual who will say "that won't work.". I love to hear that because it is usually an indication that I am on the right track!
Big "Groovy" Track
From Archive.org
Want to build a grand scale railroad? Here's how we built our 15" gauge "Groovy" track! As with our smaller "Groovy" track, this is a way to build a high quality railroad for a fraction of the cost of some other forms of trackage. As with the smaller stuff, the Big stuff is laid using notched ties and steel flat bar. Everything is just much bigger and heavier.
Over the next few months we will feature photos and other info on our 15" gauge railroad which we built for our park. Please keep in mind...We don't sell this stuff. We offer the ideas to be used as you wish. Why do we use this track system? Because it is within our track budget. Our cost including ties, rail and ballast averages $5.00/foot. Take a look at the cost of 12 lb or heavier rail and associated hardware. It should also be understood that regular rail must be pre-bent for tight radius curves whereas the flat bar can be bent easily without special tools or hassle.
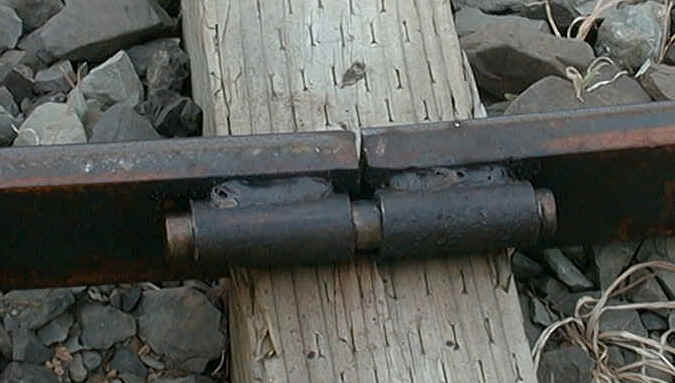
Here's a great way to splice the rail. It's a nice alternative to all that drilling. Shown here is 1/2 inch schedule 40 pipe with 5/8 Inch cold rolled round bar for a pin. A little oil on the joint keeps loose for movement during expansion and contraction of the track.
Track Snapper
From Archive.org
The 'Track Snapper' is our handy tool for the application of 'Groovy' track. Each tool is supplied with instructions for laying 'Groovy' track and , of course, our "No Excuses" warranty. Editors Note: If anyone can provide a copy said instructions please contact daris@nevil.org.
Do I need a Track Snapper?...........................................................No, use whatever method you like . This tool does make it easy to lay "Groovy" track by allowing one to do the job quickly and single handedly.
