Grade crossing: Difference between revisions
Jump to navigation
Jump to search
| (2 intermediate revisions by the same user not shown) | |||
| Line 1: | Line 1: | ||
[[Category:Right of Way]] | [[Category:Right of Way]] | ||
See also: | |||
* [[Signals]] | |||
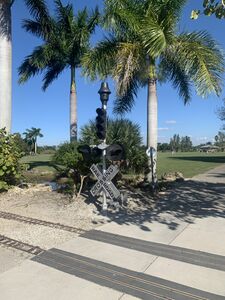
== Lakes Park Example == | == Lakes Park Example == | ||
| Line 13: | Line 17: | ||
</gallery> | </gallery> | ||
== | == AVWRR Example == | ||
The [[Annetta Valley & Western Railroad]] uses wood for their [[Grade crossing|grade crossings]], as described by club member Tom Stamey: | |||
: For | : For repair of crossings we need 1X2 inch lumber in 8 foot lengths. It takes 5 pieces to protect the two rails if they do not get heavy loads pulling over them. If trucks and cars go over them they need to be protected by two boards each outside the two rails plus the 3 pieces inside the rail. Extra long ties are needed about every foot so the additional boards on the outside can be screwed down with wood screws. All protection of the crossing must be screwed down. | ||
== External Links == | == External Links == | ||
Latest revision as of 13:30, 14 October 2021
See also:
Lakes Park Example
The Lakes Park Railroad Museum railroad uses a novel method for constructing grade crossings.
Grade crossing
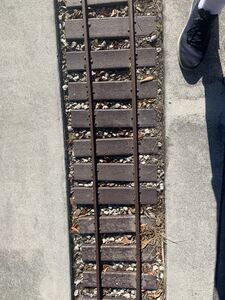
The railroad uses plastic lumber to reduce tie maintenance.
A typical grade crossing on the Lakes Park Railroad. A plastic 2x6 in the middle, with aluminum rail turned on its side with the head of the rail contacting the web of the steel rail.
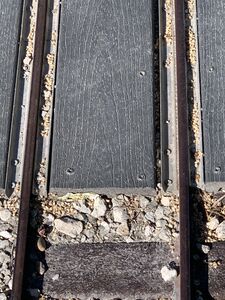
Closeup of grade crossing showing detail of aluminum rail on side as spacer/guard rail.
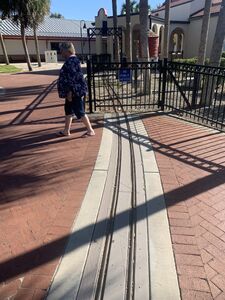
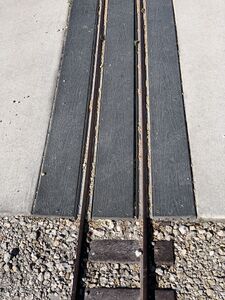
A curved grade crossing.


AVWRR Example
The Annetta Valley & Western Railroad uses wood for their grade crossings, as described by club member Tom Stamey:
- For repair of crossings we need 1X2 inch lumber in 8 foot lengths. It takes 5 pieces to protect the two rails if they do not get heavy loads pulling over them. If trucks and cars go over them they need to be protected by two boards each outside the two rails plus the 3 pieces inside the rail. Extra long ties are needed about every foot so the additional boards on the outside can be screwed down with wood screws. All protection of the crossing must be screwed down.